by Stellan Englund
photos by Hasse Göransson

Those who have seen my other builds know that I’m not always choosing the most common subjects. This time up was a kit maybe not regarded as a “real” plastic kit, but more of a toy; Games Workshop´s “Leman Russ Mk. VII”. It’s a Warhammer 40K series plastic kit, intended to be used as a piece in a tabletop game, and not primarily as a static model made just for the fun of it. Anyhow, I had been lusting for one of these for quite some time actually, but never bought one as I always have had way too many other kits to build. Feeling the same, anyone?
Drawing the lines
I disregarded the to-do pile and decided that now was a good time if ever for one of these to be built, and for some reason I came up with an idea where I had to redesign the kit more or less completely. The German tank hunters constructed during WW2 has always intrigued me and as I sat sketching about, the lines finally put down on the paper took shape as something with a distinct German aura about it. At least in my eyes it became comparatively low and menacing, ungraceful as an aardvark but threatening as a scorpion. However, this scorpion would have its sting in the front, not in its tail. I could visualize it as it was crawling behind some sand dunes, manoeuvring to get a position as advantageous as possible.
The construction
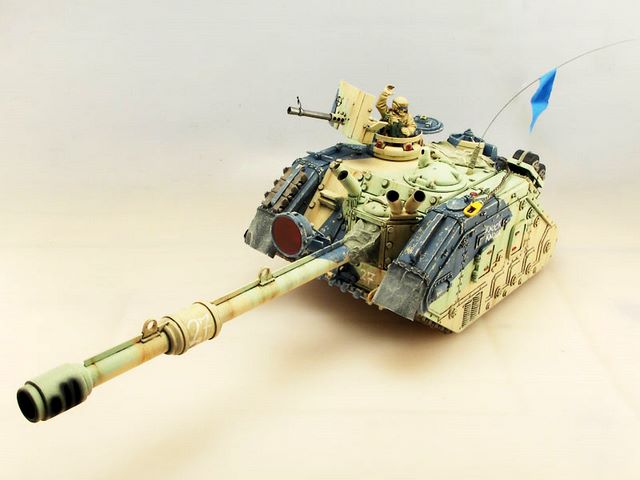
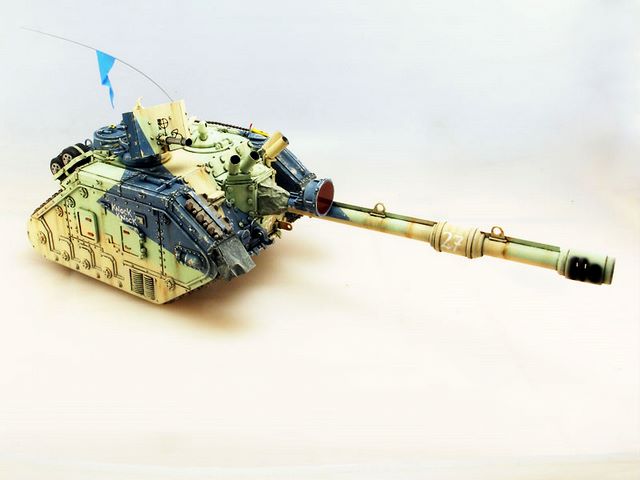
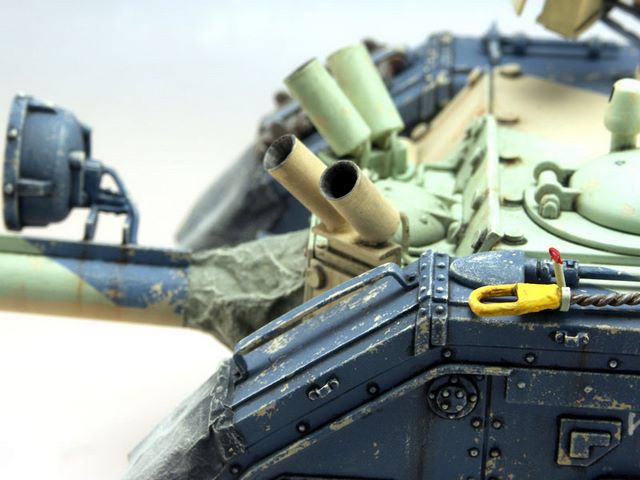
I started out by assembling the major parts, like hull and side pieces. Then I did some major surgery to get rid of the turret ring. The hull cannon got some rough treatment too, as it was chopped off and got replaced by some plastic tubing for a larger calibre and considerable longer barrel. Muzzle brake and gas ejector were cut off the original barrel and put on the new one. Rather than the original “British Mk 1-inspired” lozenge shaped tank bristling with machine guns all over, out came a turret less tank hunter.
Plasticard Mania
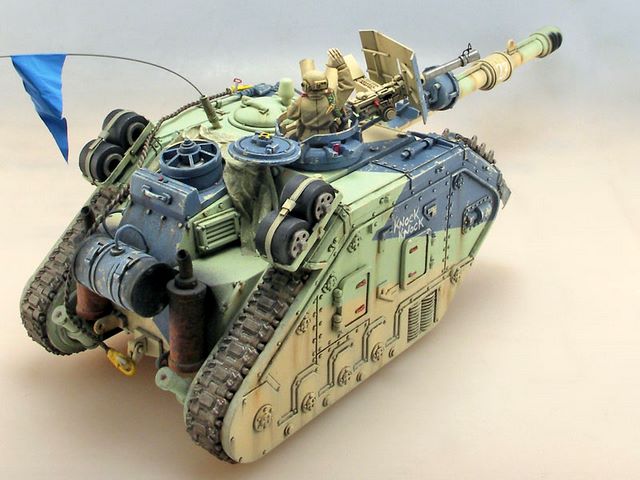
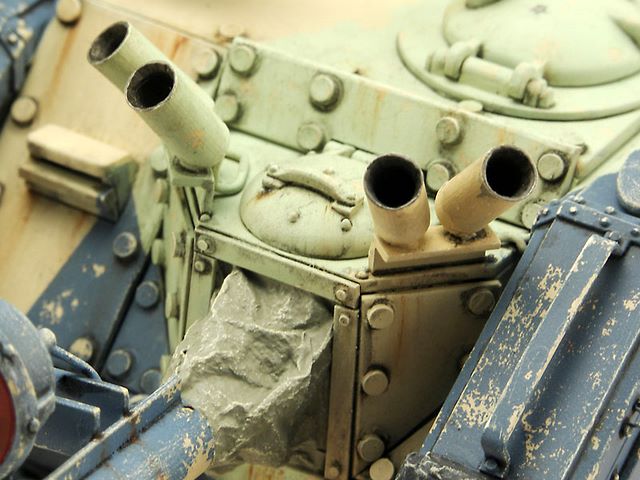
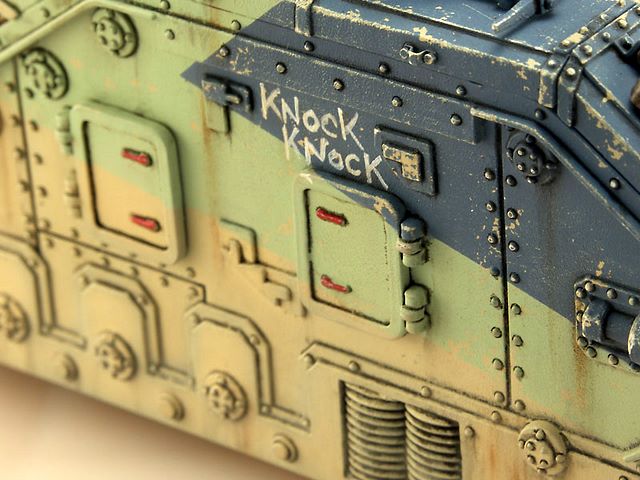
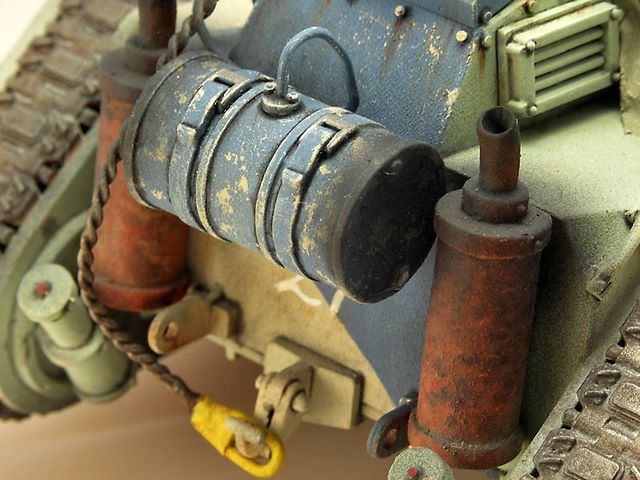
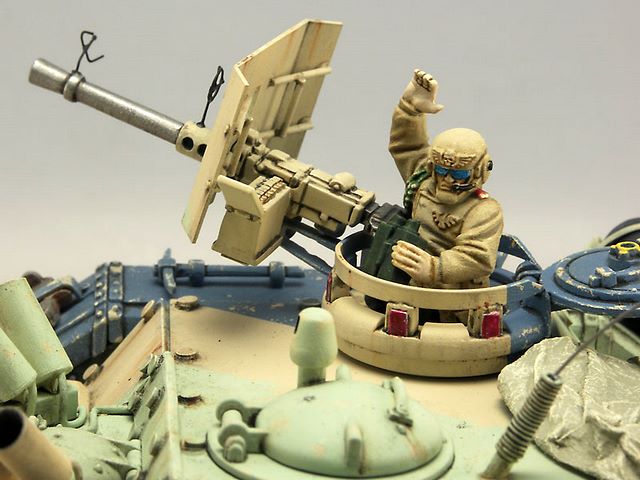
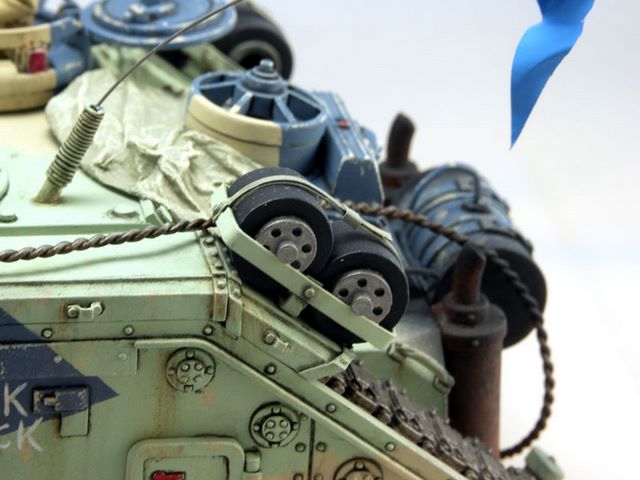
Just the side pieces were left intact, tracks and all. Additional armour on front, top and rear sides were made of thick PC and detailed with big bolt heads made from plastic rods. Detailing was mainly done by PC strips and rods but also a few bits of aluminium sheet, aluminium foil and copper wire found its places too. Cables for black light and smoke dischargers were made of solder wire. A few details were found in the scrap box, as the tow eyelets and cooling fan at the rear. A new driver’s scope was cut from the one originally intended to be placed on the turret. Redesigning the scope also had the same effect on me as I slipped while working with a scalpel and nearly chopped half my finger off! With a towel wrapped around my hand to keep the blood from fouling my project, I commenced building, slightly light headed. A little screened lamp was put on the front, as was a length of replacement tracks in its holder. Extra track links were put on the mudguards as additional protection. A dust cuff of toilet paper and white glue around the cannon’s base was added, as was a tarp on top of the tank, made of the same materials. A tow-wire made of twisted string was added. A slightly modified commander’s cupola, complete with a bracket for the MG and its scratched shield, were put on the upper right side.
Everything was added on the model before painting. I preferred to glue all details on as they were made to measure while I was building the kit. I also wanted to try out the method of glue all/paint all rather than painting bits and pieces and then assembling the whole of it. The only things not glued before painting began were the commander’s cupola and the dark red lens (transparent styrene sheet) of the big light placed on the barrel. Yup, it worked out very well doing it this way.
Painting and Weathering
How to paint it was the next big issue. For a start I was out for a typically German camouflage but changed my mind as it would be a too obvious choice. I wanted it to be a futuristic tank rather than a “could have been” kind of model. So I changed course and choose a Caunter-inspired dazzle scheme instead.
A coat of Games Workshop´s Skull White was to act as a primer. After a quick run of black in my airbrush for pre shading in every nook and cranny, a sand coloured base was airbrushed over all. Next step was to come up with some fancy contrasting colours, not too far off the real thing used in the North African campaign during WW2. Light pear green and a rather dull blue gray colour was finally my decision. I masked the areas to remain in sand, dotted some Maskol around areas I wanted to be scruffy and sort of worn. I sprayed the green on, masked again and finished the whole thing by adding the last colour, blue gray. None of the colours was standard, but mixed to get the feeling I wanted. The masking done with Tamiya tape did take some effort to get right, but the Caunter type scheme came out nicely and seems to break up the outline perfectly, just as intended.
Wrapping Up!
Detail painting was the next step and the tracks was painted bolt gun metal, washed in artistic oil paints for a somewhat rusty feeling and pin washed to get some depth to the details. The exhausts were painted and generously dusted with MIG pigments for a truly rusty appearance. Some minor rust runs down the sides were made with oil paint. The whole tank was dry brushed just to get a slightly dusty feeling. Tracks and lower part of the hull was dusted with dry pastels. Finally I painted and added a commander in the cupola, binoculars and all, to get some size reference for the viewer. Everything was then sealed in Vallejo matt varnish, just to get an even non-shine appearance.
Conclusion
It was one of the coolest builds I have ever made. I got lots of great (and confused) comments on the subject as it was finished, this just putting more fuel on the fire making me want to make another one of these lovely futuristic war machines. For me, as I don’t mind jumping from one kind of subject to another, it was perfect as I really got a wide scope to do as it pleased me. For once it was perfect not having all that reference material to have to regard, as this machine won’t be in action until another 38.000 years. If you think of building something almost realistic, go for one of these!
Paints used were of Vallejo Model Colour brand, Humbrol and Games Workshop. Artistic oils used for washes and staining are of quite cheap Lefranc & Burgeois make, and the white spirit is from Beckers. Pigments are from dry pastels and MIG.

This article was originally published in IPMS Stockholms Magazine in October 2007